The proxy ecosystem has tons of useful utilities that make working with proxy settings a breeze. A great instance of these utilities is a proxy management tool, FoxyProxy is the most popular choice for this toolset.
This article will help you to understand the functions and features of FoxyProxy extension, Foxyproxy download, and how to use FoxyProxy Chrome and Firefox&.
What is FoxyProxy?
FoxyProxy is an advanced proxy management tool available as an extension for Google Chrome, Mozilla Firefox, Microsoft Edge, and other Chromium-based browsers. It is widely used by developers, IT professionals, and privacy-conscious individuals who frequently work with proxies. It simplifies the task of managing and switching between multiple proxies, making it a valuable tool for those who prioritize online privacy and security.
Is FoxyProxy Safe To Use?
Sure, it is safe to use. No security or fraud incidents have been reported. The company was founded in 2006, and since then, its popularity and number of services have continued to grow. They value transparency; thus, you can find more useful information about the team behind FoxyProxy on FoxyProxy’s website. Besides, there are countless reviews online that can help inform how secure it is. Btw, it’s better to do your research and trust your experience. And we recommend you OkeyProxy as the best proxy provider for its comprehensive performance.
What Benefits Does FoxyProxy Offer?
It is packed with features designed to make the process of working with proxies as seamless as possible. Here are some of its key features:
1. Pattern-based Proxy Switching: This feature enables you to define patterns for the URLs you visit. You can then assign different proxies to different patterns. Consequently, when you visit a URL, it automatically routes your traffic through the appropriate proxy based on the patterns you’ve pre-defined.
2. Multiple Proxy Support: It supports multiple proxies, allowing you to easily switch between them. You can add, delete, enable, or disable proxies with just a few clicks.
3. Color Coding: To help you quickly identify different proxies and patterns, it uses color coding. You can assign different colors to different proxies or patterns for easy identification.
4. Import and Export Settings: This feature allows you to import and export your settings. This is particularly useful when you need to use the same configurations on multiple devices or share your settings with others.
5. Logging: It provides detailed logs of all your proxy activities. This feature is beneficial for debugging and tracking purposes.
6. Proxy Auto-Configuration (PAC) Files: It can generate PAC files based on your current proxy settings. This feature allows you to use the same settings across different browsers or devices.
Fornecedores de proxy recomendados: Okeyproxy - Top 5 Socks5 Proxy Provider com 150M+ Residential Proxies de 200+ países. Obtenha agora uma avaliação gratuita de 1GB de Residential Proxies!
Tutorial em vídeo do Youtube is listed as follow:
How to Use FoxyProxy For Chrome?
Getting started with FoxyProxy is installing the extension on your browser, after that, you can begin adding proxies and defining patterns. Here’s a step-by-step guidance on how to set up it:
Passo 1: Download and install the extension.
Go to the Chrome Web Store first and search for FoxyProxy. Click on the ‘Add to Browser’ button to install the extension.
https://chromewebstore.google.com/detail/foxyproxy/gcknhkkoolaabfmlnjonogaaifnjlfnp
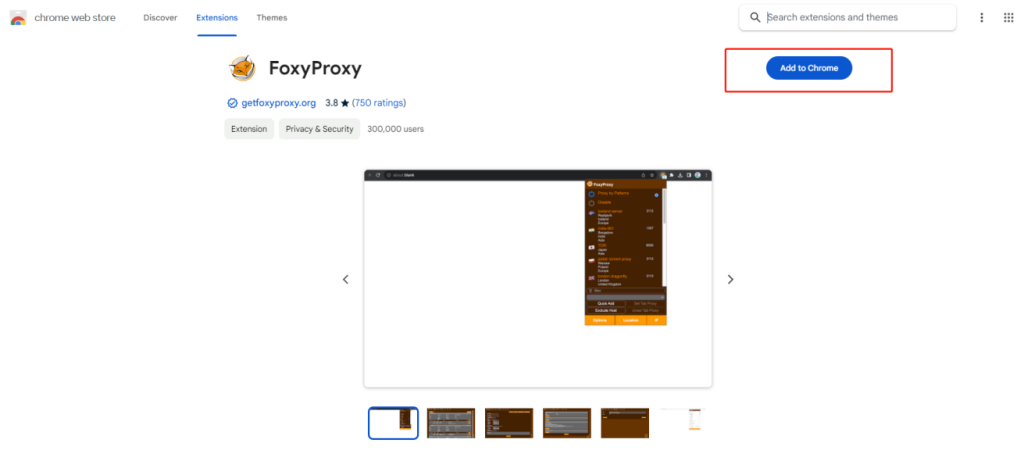
Once installed, click on the small icon in the upper right menu and then click on Options. This will open a new window.

Passo 2: Add Proxies. In the ‘Proxies’ tab, click on ‘Add New Proxy’. This menu may look a little intimidating if you’re not used to manual configuration, but don’t worry because it’s pretty simple to use.

Here, you need to enter the details of your proxy server, including the IP address and port number. You can also assign a favored color to this proxy for easy identification.
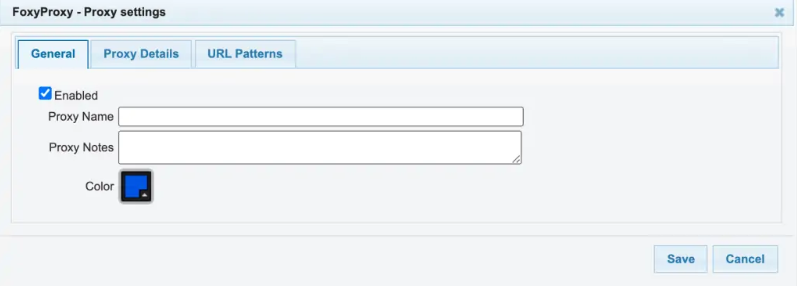
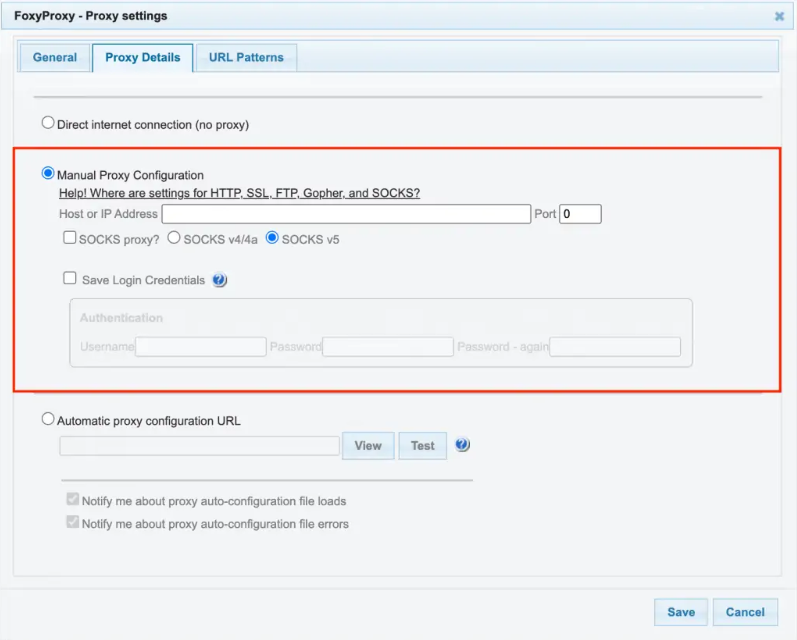
Passo 3: From the Proxy Details tab, select Manual Proxy Configuration and enter the proxy server information.
The automatic proxy configuration URL comes in handy if you are on a managed school or work network. It configures the proxy server without you having to do anything.
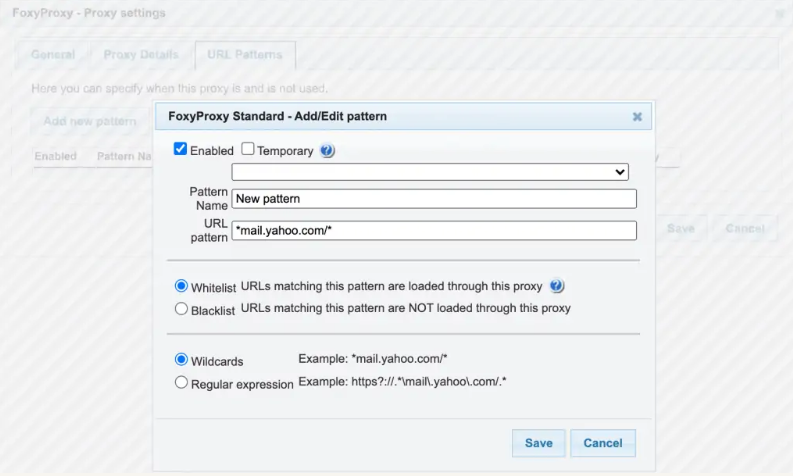
Passo 4: Define Patterns. Now navigate to the ‘URL Patterns’ tab and click on ‘Add New Pattern’. In this section, you can define the pattern for the URLs that you want to route through a specific proxy. You can also select the proxy that you want to use for this pattern.
Choose whether you want to whitelist or blacklist the URL you just entered. Blacklisted URLs take precedence over whitelisted URLs.
Step 5: Enable your proxy profile. Click on the extension icon and select: If you want to enable proxy “profile name” for all websites, use proxy “profile name” for all URLs.
If you have configured the proxy to work on specific websites, use the proxy according to predefined patterns and priorities.
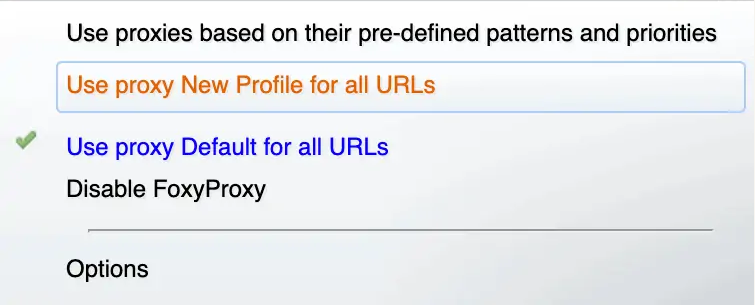
Step 6: Test your proxy. Now you can check whether your location and IP address have changed or not.
That’s it! You’ve successfully set up a proxy server on Chrome using it!
Fornecedores de proxy recomendados: Okeyproxy - Top 5 Socks5 Proxy Provider com 150M+ Residential Proxies de 200+ países. Obtenha agora uma avaliação gratuita de 1GB de Residential Proxies!
How to Use FoxyProxy For Firefox?
Passo 1: Download and install the extension from the Firefox ADD-ONS store by clicking Add to Firefox.
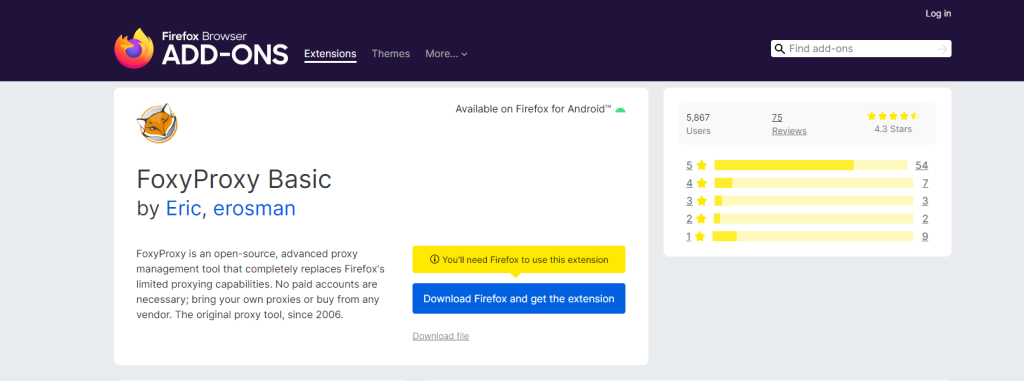
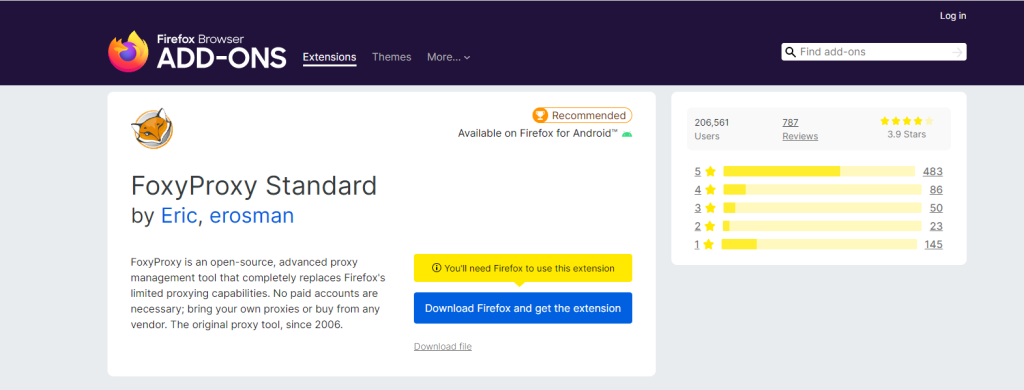
FoxyProxy for Firefox comes in two versions: FoxyProxy Basic and FoxyProxy Standard. The Standard version offers more useful features, so we will use this version in our guide. As an alternative, if you just want a proxy switcher with on/off switching, you can try the basic version.
Basic version: https://addons.mozilla.org/en-US/firefox/addon/foxyproxy-basic/
Standard version: https://addons.mozilla.org/en-US/firefox/addon/foxyproxy-standard/
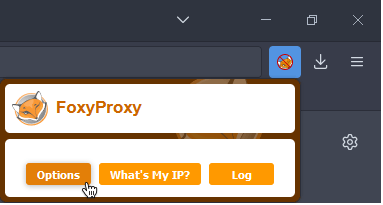
Passo 2: We can now operate the initial manual proxy configuration. In Firefox’s menu bar, click the proxy icon, and press the Options button – the extension’s settings menu will then open.
Passo 3: Click the Add button on the left to add a new proxy configuration. The Add Proxy window will open and we need to fill in the proxy details in the following fields:
- Proxy type
- Proxy IP address or DNS name
- Port
In some cases, you need to use a username and password combination for authorization. Copy the login and password values from the proxy list and paste them into the username and password fields.
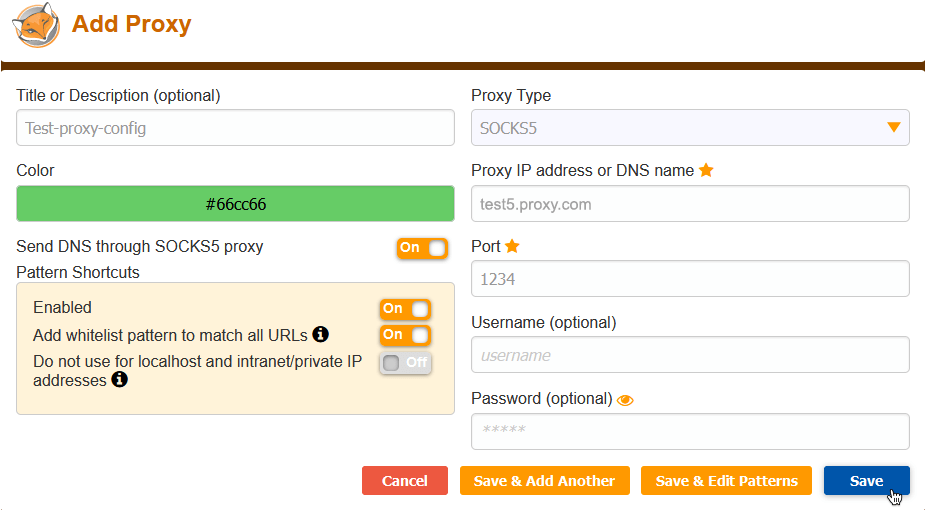
Now, click the “Save” button. Then, click on the FoxyProxy icon and select the new proxy configuration – it should now be active. Now you can check whether the proxy is working properly or not: Click on the icon again and select What is my IP? Button, then you can see your new IP address and location.
Fornecedores de proxy recomendados: Okeyproxy - Top 5 Socks5 Proxy Provider com 150M+ Residential Proxies de 200+ países. Obtenha agora uma avaliação gratuita de 1GB de Residential Proxies!
Resumo
FoxyProxy is an incredibly versatile and beneficial tool for managing and switching between proxies. Whether you’re a developer, an IT professional, or just someone who values online privacy, it can significantly enhance your online experience. By understanding its features and how to use them effectively, you can make the most of this robust proxy management tool. You can also meet other proxy managers, read articles of SwitchyOmega, Proxifier, ou Auxiliar de proxy.


![[Tutorial de configuração] Como adicionar um auxiliar de proxy para Google Chrome e Mozilla FireFox Proxy Helper Um guia completo para uma navegação segura](https://www.okeyproxy.com/wp-content/uploads/2023/12/Proxy-Helper-A-Comprehensive-Guide-to-Secure-Browsing-300x167.png)


